
Watch the complete workflow, from freely recorded performance to finished tempo map, or jump straight to the setup guide for your DAW.
James Russell of Egg Audio turns a freely recorded MIDI performance into a tempo map, then refines the alignment and brings it back into the DAW.
Setup guides covering plugin installation, routing, recording your performance, and exporting the tempo map, for each supported DAW.
Prerequisite: Disable “Ignore Master Track Events on Merge” in Preferences > MIDI > MIDI File.
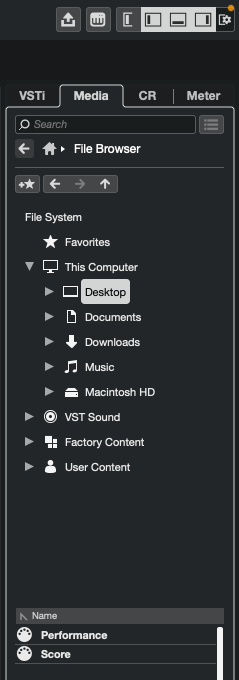
Install and scan. Add Synchrony to your VST3 plugin folder and scan in Cubase’s Plugin Manager.
Create an instrument track. Load Synchrony as a VST instrument.
Load your score. Import the score MIDI file into Synchrony.
Record your performance. Arm the track and play your performance.
Align. Run the alignment to generate the tempo map.
Export the tempo map. Drag the tempo map directly from Synchrony into your Cubase project.
Install and scan. Add Synchrony to your AU plugin folder. Logic scans automatically.
Create a software instrument track. Load Synchrony as an AU instrument.
Export your MIDI regions. Use Cmd+Alt+E. Use the Strip Silence button and tempo editor to remove unwanted data.
Load into Synchrony. Import the exported score and performance MIDI files.
Align. Run the alignment to generate the tempo map.
Export the tempo map. Drag the tempo map directly from Synchrony into your Logic session.
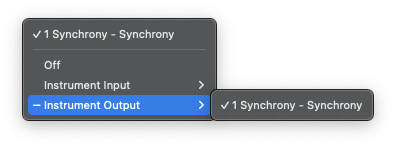
MIDI thru
Load your instrument on a second track, open Internal MIDI In settings, select Instrument Output > 1 Synchrony, and enable the Audition button.
Install and scan. Add Synchrony to your VST3/AU plugin folder and scan in Ableton’s Preferences.
Create a MIDI track. Load Synchrony as an instrument on a MIDI track.
Export your MIDI clips. Use Cmd+Shift+E (Mac) or Ctrl+Shift+E (Windows). Note that tempo data won’t export, so adjust using Synchrony’s tempo slider or use the record feature for multi-tempo projects.
Load into Synchrony. Import the exported score and performance MIDI files.
Align. Run the alignment to generate the tempo map.
Export the tempo map. Drag the tempo map directly from Synchrony into your Ableton project.
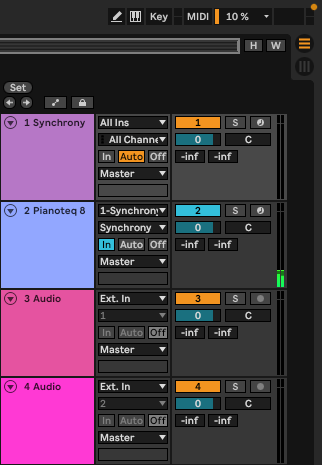
MIDI thru
To audition instruments through Synchrony, create a second track with your instrument, set its input to your Synchrony track, set the input channel to “Synchrony”, set monitoring to “In”, and enable the Audition button in Synchrony.
Install and scan. Add Synchrony to your VST3/AU plugin folder and scan in Studio One.
Create an instrument track. Load Synchrony as a virtual instrument.
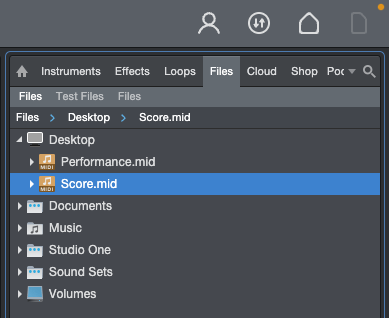
Export your score. Option-drag your MIDI clip from the arrangement into the Files browser, then load into Synchrony.
Export your performance. Repeat for the performance clip. Adjust tempo manually or use the record feature.
Align. Run the alignment to generate the tempo map.
Export the tempo map. Drag the tempo map directly from Synchrony into your Studio One session.
Install and scan. Add Synchrony to your VST3 plugin folder and scan in Reaper’s Preferences.
Create a track. Load Synchrony as an FX plugin on a MIDI track.
Load your score. Select a MIDI clip in your Reaper project, then press the load button in Synchrony. The notes will immediately appear in the score editor.
Load your performance. Select the performance MIDI clip and load it the same way.
Align and export. Run the alignment, then use Synchrony’s built-in Reaper integration to write the tempo map directly to your project.
Every control in Synchrony and what it does. Click a note colour to see what it means.
The manual, common questions, compatibility details, and where to reach us.